Imagine your Image – Thoughts about Online PD (24th April)

One of my “go buttons” likely to generate a “rant” is having to wait for ever for images to open/download in websites and e-mail. This is partly because I live and work in an area that has bandwidth issues as a result of its regional location. I also work with regional and remote students some of whom are on dial up connections – this has made me even more mindful of the issues facing people with slow connections or older (slower) computers. This combined with the fact that I love to play with images and encourage students to do so gave rise to an idea for one of the Edublogs/ Elluminate Community Partnership Free Online PD sessions. An overview of the session can be found at the Edublogs Live Events Archive where  you will also find other links that might be of interest and also the link to the recording of the session.

The session was about making your images fit for purpose and I presented it jointly with Phil Hart. We both use free downloadable image editors for a lot of our image manipulation. Main reasons for this include:

  • we can carry them around on a memory stick and install them on anything without licensing issues;
  • we can recommend them to students who can then use them without incurring cost;
  • we can install them on college computers for student use without any issues;

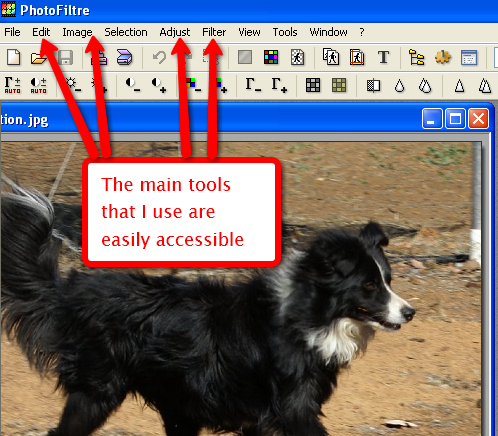
I mainly use PhotoFiltre this is because I find it easy to use, and have also found that students (even those who are not highly “computerate”) also find it quite easy.

This session was fun! I enjoyed making sure that the introductory part was interactive because the opportunity to make online sessions interactive is one of my favourite things about Elluminate. So I included polling, drag and drop and whiteboard activities in the intital discusssion about the need for editing images particularly with respect to size. Then we moved on to more interaction using Application Share to show some of the editing features of Photofiltre and giving participants an opportunity to take control of my desktop and try out some edits for themselves. After that it was Phil Hart’s turn to take centre stage and show some ot the features of GIMP – a rather more advanced (but still free) editing application that allows the use of layers – while I took a rest (ha! ha!) and fielded the text chat. We wound up with some feedback on the session and opportunites for any questions not already dealt with in the text chat.

The text chat is another of the features that makes Elluminate a great tool – especially if two people are co-presenting because the one not actively presenting can watch and respond to this backchannel. Watch this space if you are interested in Elluminate (or virtual classrooms in general) as I often post about some of the activities and Elluminate tools I use to keep  sessions interactive for my students.

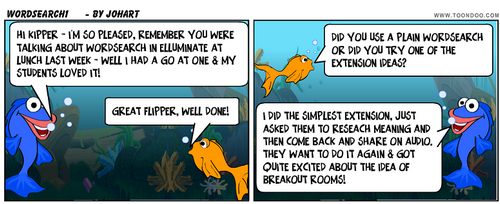
Elluminating ideas for interactivity on the whiteboard! WordSearch

I use WordSearches (WordSleuths) in Elluminate (and also in a face-to-face context) in a whole variety of integrated activities. They are particularly useful to me as a literacy lecturer but can also be really useful in any subject that uses specialised vocabulary.

Until recently I created my WordSearches the hard way – using a table filled with random letters and just replacing the letters with the words I wanted each time. However a couple of months ago I found this great online WordSearch maker.

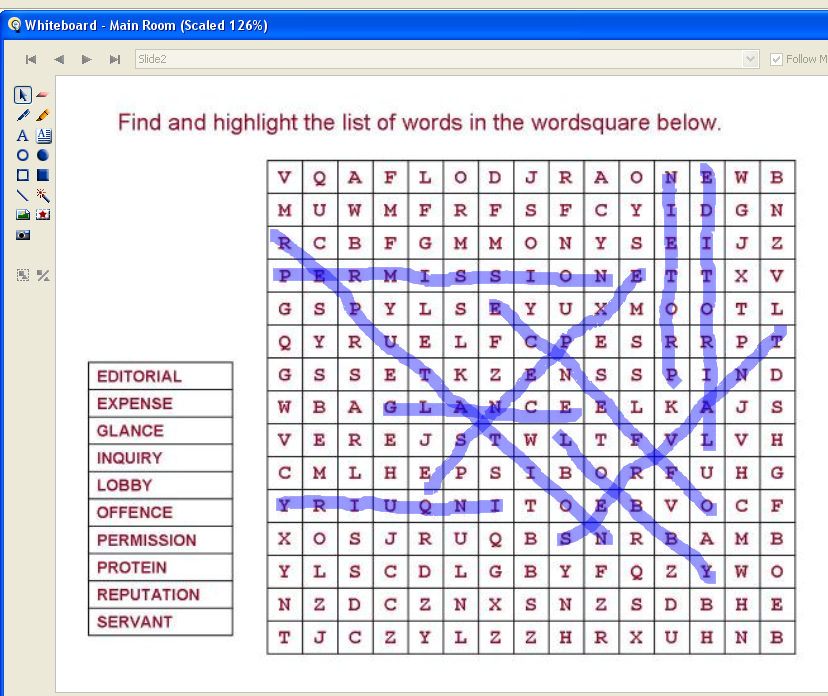
Occasionally I use a WordSearch in its most simple form – just a word square with a list of words to find and highlight using the higlighter tool. Used this way it is a good warm-up or whiteboard tools familiarisation activity. In conjunction with “Explore Objects” on the “Whiteboard” menu under “Tools” I find it useful to get an idea of student participation levels.

Usually when I use a WordSearch either face-to-face or in Elluminate I extend it by asking students to find the meanings of words and then to put those meanings into their own words. In Elluminate this involves asking each student or pair/group to look up one of the words online and to feedback to the rest of the group. There are several different options I use for feeding back: a) audio using the microphone; b) use breakout rooms, type on the whiteboard and then I put the whiteboards into the main room for sharing with the rest of the group; c) use the text chat area; d) create a Wordle of the word and its meaning in their own words and put the link on the whiteboard – we can then Webtour the Wordles or students can visit them individually. A good variation on the last is to create the Wordles without the word itself and then have the other students use Polling to guess which word is being defined in each Wordle.

Setting up a basic WordSearch in Elluminate is very straightforward, especially if you use a WordSearch maker for the hard bit ie making the puzzle.

I usually try to be economical in my resource development and create resources that I can easily convert to alternative formats. As a result my WordSearches are usually pasted into worksheets using my own standard Word worksheet template. This is so that I can use the WordSearches in face-to-face classes as well as easily insert them into Powerpoint (ppt) for uploading into Elluminate. If the WordSearch was created as a table then its just a case of copy and paste the table into ppt, otherwise use Text to Table conversion from the Tables menu in Word. I still use Word for printables because of ease of formatting over html. This is one for use in a literacy context (I am generating a whole set of these using a vocabulary list) – it makes a good whiteboard activity for the start of a class when peolpe are arriving and setting up audio etc.

This is how I put the activity into Elluminate.

1) Putting this activity into Elluminate is easier than putting in Drag and Drop because it is all “background” ie there is nothing that the students need to move.

2) I usually set up these activities as individual ppts because this makes it easier to just insert the activity into any presentation or Elluminate session without having to edit out other material.

3) Copy and paste the WordSearch into your ppt and add the wordlist (usually also copy and paste as saves having to align the words)

4) Duplicate the ppt slide (Insert duplicate slide)

5) At this stage you have a choice you can either complete the second slide with lines/highlighting through the answers or you can wait until you have uploaded and add the answers on the whiteboard. If you take the second option remember that you need to save the two slides in wbd format for using later.

5) Save and close ppt

6) You can then upload the ppt into Elluminate as and when required. Alternatively, if you haven’t completed your answer slide, upload into Elluminate, use the highlighter to highlight answers and save as a wbd

7) It is easy to insert pre-prepared whiteboards or short ppts at any point in an uploaded presentation – just create a new whiteboard (tool next to the upload presentation one) and then replace it with your pre-prepared material.

You are ready to go – have fun!

Elluminating ideas for interactivity on the whiteboard! Drag and Drop!

With students new to Elluminate I always go for a softly softly approach and try not to introduce too many new tools or strategies at once. This also sometimes applies to colleagues especially the e-phobic! If I’m working with e-philic colleagues we can have a great time looking at a whole range of different ways to use tools and keep students interacting. However I’m trying to avoid blog posts that exceed War and Peace in length! So I’ve decided to break all this whiteboard “stuff” down into smaller chunks.

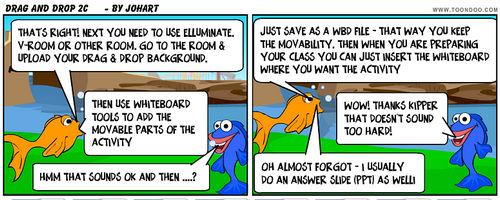
I hope that Kipper and Flipper will help me make these posts memorable!

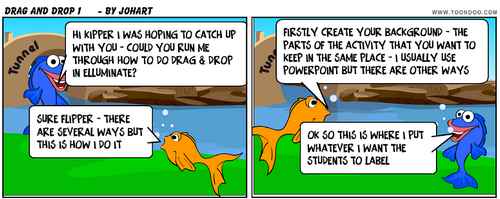
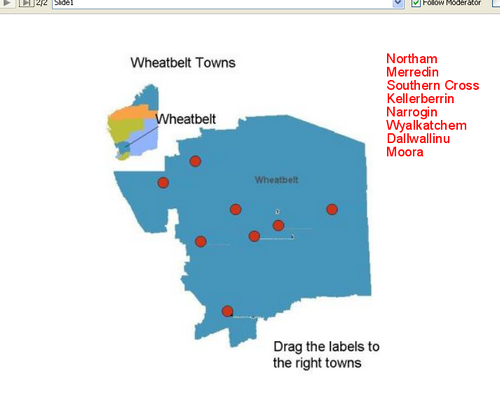
One of my favourite, and very simple activities on the whiteboard is using Drag and Drop. Here is one that I use in taster or orientation sessions for students.

OK so how do I set them up? There are many different options – these are my personal preferences and what works well for me!

Firstly I usually use PowerPoint (ppt) for my slides in virtual classes/presentations/workshops. There are a number of reasons for this:

a) have been using ppt for years so I’m very familiar with it and find it easy to use;
b) very easy to upload into Elluminate as a complete presentation rather than slide by slide;
c) have a portable, easily edited “down here” version ie not “locked in” to the need to able to open the Elluminate whiteboard file format.

1) I pre-prepare, starting with anything I want in the background in PowerPoint – for drag and drop this is the text or images that I want to be fixed (ie not “draggable” by the learners).

2) Duplicate the ppt slide and add the answers so I have an answers slide to show students after they have finished. This is a good way of making sure that I don’t miss any out from the “draggables”. Also very useful if I have a “kitten moment” at the going through the answers stage and get two of them muddled.

3) Upload the ppt into Elluminate – see below

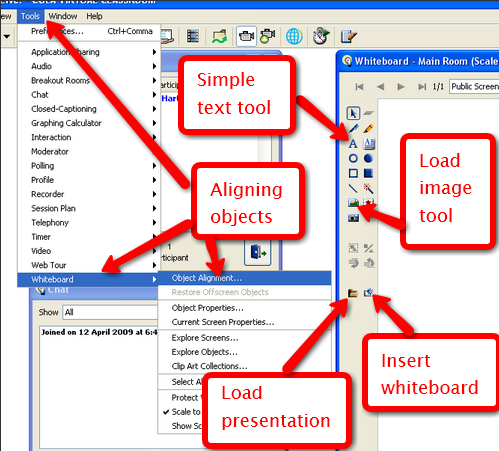
4) Go to the slide that needs the “draggables”. Use the simple text tool “A” to type your labels or add your images (if these are the “draggables”) using the add image tool (see below).

5) Tidy up the positions of your “draggables.

6) Once you are happy with the activity, save the entire presentation as a .wbd file.

7) I often create the entire drag and drop separately from the presentation it is to be embedded within. This makes it easier to add to my “resource bank” for future use with a different group or in a different place in the session.

8)It is easy to insert pre-prepared whiteboards at any point in an uploaded presentation – just create a new whiteboard (tool next to the upload presentation one) and then replace it with your pre-prepared material.

Have fun!