With students new to Elluminate I always go for a softly softly approach and try not to introduce too many new tools or strategies at once. This also sometimes applies to colleagues especially the e-phobic! If I’m working with e-philic colleagues we can have a great time looking at a whole range of different ways to use tools and keep students interacting. However I’m trying to avoid blog posts that exceed War and Peace in length! So I’ve decided to break all this whiteboard “stuff” down into smaller chunks.
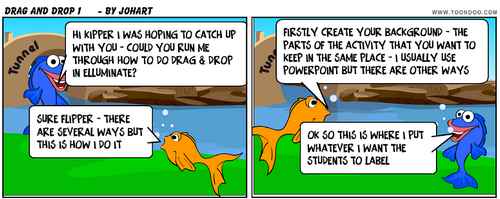
I hope that Kipper and Flipper will help me make these posts memorable!
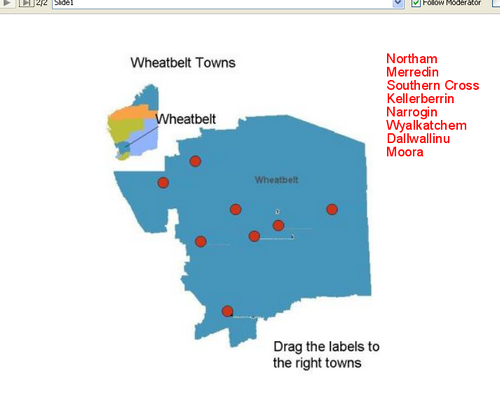
One of my favourite, and very simple activities on the whiteboard is using Drag and Drop. Here is one that I use in taster or orientation sessions for students.
OK so how do I set them up? There are many different options – these are my personal preferences and what works well for me!
Firstly I usually use PowerPoint (ppt) for my slides in virtual classes/presentations/workshops. There are a number of reasons for this:
a) have been using ppt for years so I’m very familiar with it and find it easy to use;
b) very easy to upload into Elluminate as a complete presentation rather than slide by slide;
c) have a portable, easily edited “down here” version ie not “locked in” to the need to able to open the Elluminate whiteboard file format.
1) I pre-prepare, starting with anything I want in the background in PowerPoint – for drag and drop this is the text or images that I want to be fixed (ie not “draggable” by the learners).
2) Duplicate the ppt slide and add the answers so I have an answers slide to show students after they have finished. This is a good way of making sure that I don’t miss any out from the “draggables”. Also very useful if I have a “kitten moment” at the going through the answers stage and get two of them muddled.
3) Upload the ppt into Elluminate – see below
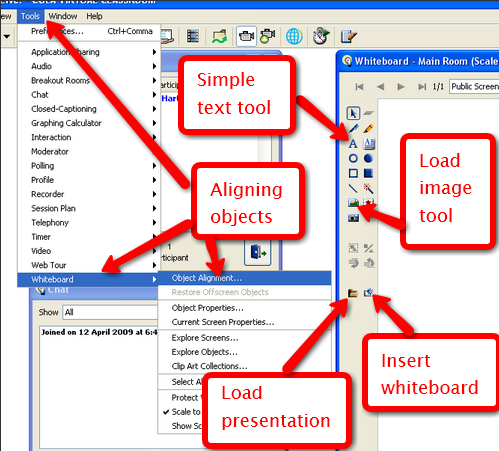
4) Go to the slide that needs the “draggables”. Use the simple text tool “A” to type your labels or add your images (if these are the “draggables”) using the add image tool (see below).
5) Tidy up the positions of your “draggables.
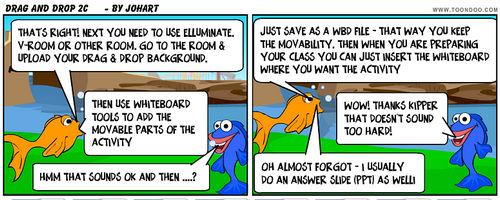
6) Once you are happy with the activity, save the entire presentation as a .wbd file.
7) I often create the entire drag and drop separately from the presentation it is to be embedded within. This makes it easier to add to my “resource bank” for future use with a different group or in a different place in the session.
8)It is easy to insert pre-prepared whiteboards at any point in an uploaded presentation – just create a new whiteboard (tool next to the upload presentation one) and then replace it with your pre-prepared material.
Have fun!


Pingback: Online Party! | E-verything!